You’ve decided to make a layered cake, and you’re a bit worried that it won’t turn out right. We totally understand—layered cakes are not that easy to tackle.
From runny buttercream to uneven frostings, many things can go wrong when building your ideal, picture-perfect cake.
We’ve rounded up 10 surefire tips that will help you nail your next layered cake. Whether you’re making one from scratch or trying out this gorgeous Red Velvet Cake, everyone’s going to fawn over your impressive work of art!


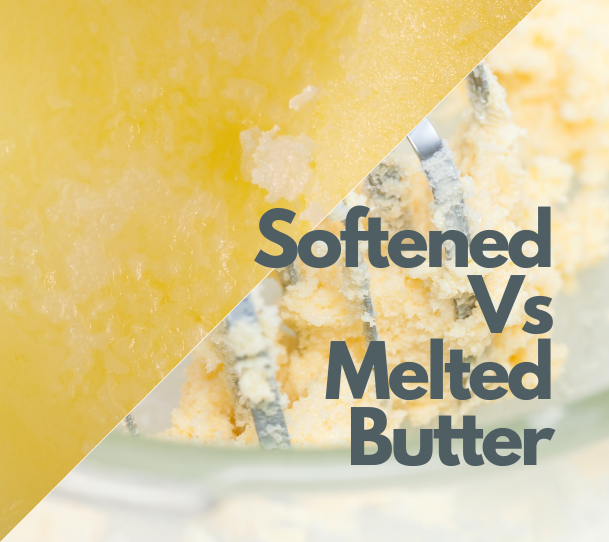
Beating your frosting for too long incorporates too much air and makes it grainy.
A pale and fluffy appearance means that butter and sugar are well-mixed, and you can start adding any remaining ingredients. Once it’s all mixed together, stop beating.
Although we’ve followed the recipe to a tee, sometimes the frosting doesn’t turn out right—it’s either too stiff or runny.
Luckily, there’s a simple solution to this problem.
If the frosting’s too runny, add some confectioners’ sugar. Too stiff? Just add some milk or cream.
Add as much as needed until it reaches the right consistency, but only add small amounts at a time.

Most types of frosting are best kept in the fridge before and after they’re applied.
Although the classic American Buttercream is quite stable, frostings kept at room temperature will be too runny and won’t hold their shape well.
Frostings melt quite easily, and keeping a decorated cake at room temperature will probably undo all your hard work. It’s best to keep your frosted cake in the fridge until ready to serve.
Attempting to frost a warm cake will melt the frosting, making it runny and hard to work with.
Room temperature cakes are fine, but cold cakes are firmer and hold their shape better. You won’t have to worry about the cake breaking or releasing an excessive amount of crumbs while you’re working on it.

Trimming the sides of your cake gives it a smooth, clean appearance. Besides, the surface of your cakes must be completely flat. Otherwise, they might wobble or even fall after they’re stacked!
Use a long serrated knife to saw off any “dome” on top, making the cakes perfectly flat. If you have a cake leveler on hand, that works as well.

Placing your cake on a turntable and swivelling it around while frosting makes the whole process much easier. The swivelling motion allows you to get a smooth surface all around the cake, and making swirls on your frosting.
Nowadays, most turntables are designed to look visually pleasing. This means that you can frost and serve your cake on the same turntable without having to shift your delicate frosted cake from one plate to another.
However, frosting your cake can be a messy affair.
Here’s a quick tip: Line any remaining space on your turntable before starting to frost. When you’re done, you can simply remove the paper, revealing a squeaky-clean stand that can be presented straight away, with little cleaning!
Check out the Bakestarters’ range of dessert and cake turntables, made for functionality and design. Available in Matte Marble, Natural Marble, and Black Quartz.
Turntables can be slippery at times. To keep your cake from moving around while you frost it, put a dollop of frosting between the turntable and the first layer. It’ll act like a glue that keeps your cake still.

If you want perfectly smooth sides, an offset spatula is essential for the best results.
It’s much easier to control than a regular spatula. Just make sure not to accidentally scrape the cake with it; or else, you’ll end up mixing cake crumbs into the frosting.
A large bench scraper also helps a lot. Choose one that’s at least the same height as your cake, so you don’t end up making unwanted slits.
A crumb coat is a thin layer that traps any crumbs.
Before applying the outermost frosting layer for fully-frosted cakes, put a very thin layer of frosting around your cake and refrigerate it for about half an hour.
This step ensures that your cake will look smooth without any tiny crumbs scattered!
However, if you’re attempting a semi-naked cake like our Ondeh Ondeh cake and Red Velvet cake which only require a crumb coat, you can decorate your cakes immediately!

The classic vanilla or chocolate flavours are nice, but don’t limit yourself!
Try replacing the vanilla extract with almond extract, or replacing some of the butter with peanut butter.
In our Ondeh Ondeh Gula Melaka Coconut Cake, we’re adding in some salt and gula melaka for a salted gula melaka buttercream, for a delightful locally-inspired flavour combination. When it comes to experimenting with flavours, the sky’s the limit!
Check out our Ondeh Ondeh Gula Melaka Coconut Cake Baking Kit here, an all-in-one DIY baking kit which contains the full recipe, all the ingredients pre-measured in the amounts you’ll need, along with piping bags and parchment required to build your first cake.

Frosting and icing your first cake might be a little tricky, but practice makes perfect! We hope these tips bring you closer to building the cake of your dreams.
If you're looking to try your hands on icing and frosting a cake from scratch, try our newly launched Christmas cake baking kits! Each kit comes with a recipe our pastry chefs have developed, along with all the ingredients you'll need in their correct amounts, and extra items you'll need to frost and bake your cakes such as piping tips, piping bags, parchment rounds, and more.
The two cake baking kits available are:
1. Ondeh Ondeh Semi-Naked Cake w/ Gula Melaka Coconut Drip, Filling & Crumble
2. Red Velvet Cream Cheese Rosette Cake
Comments will be approved before showing up.