
Choux pastry is undoubtedly one of our favourite baked goods to make. It has a light and airy texture, lightly crisp exterior, and is usually filled with a silky smooth pastry cream.
You can see that we have a soft spot for Cream Puffs, such as in these Belgian Dark Chocolate Peppermint Cream Puffs we just launched recently for Christmas, but there are more types of desserts that you can create using choux pastry.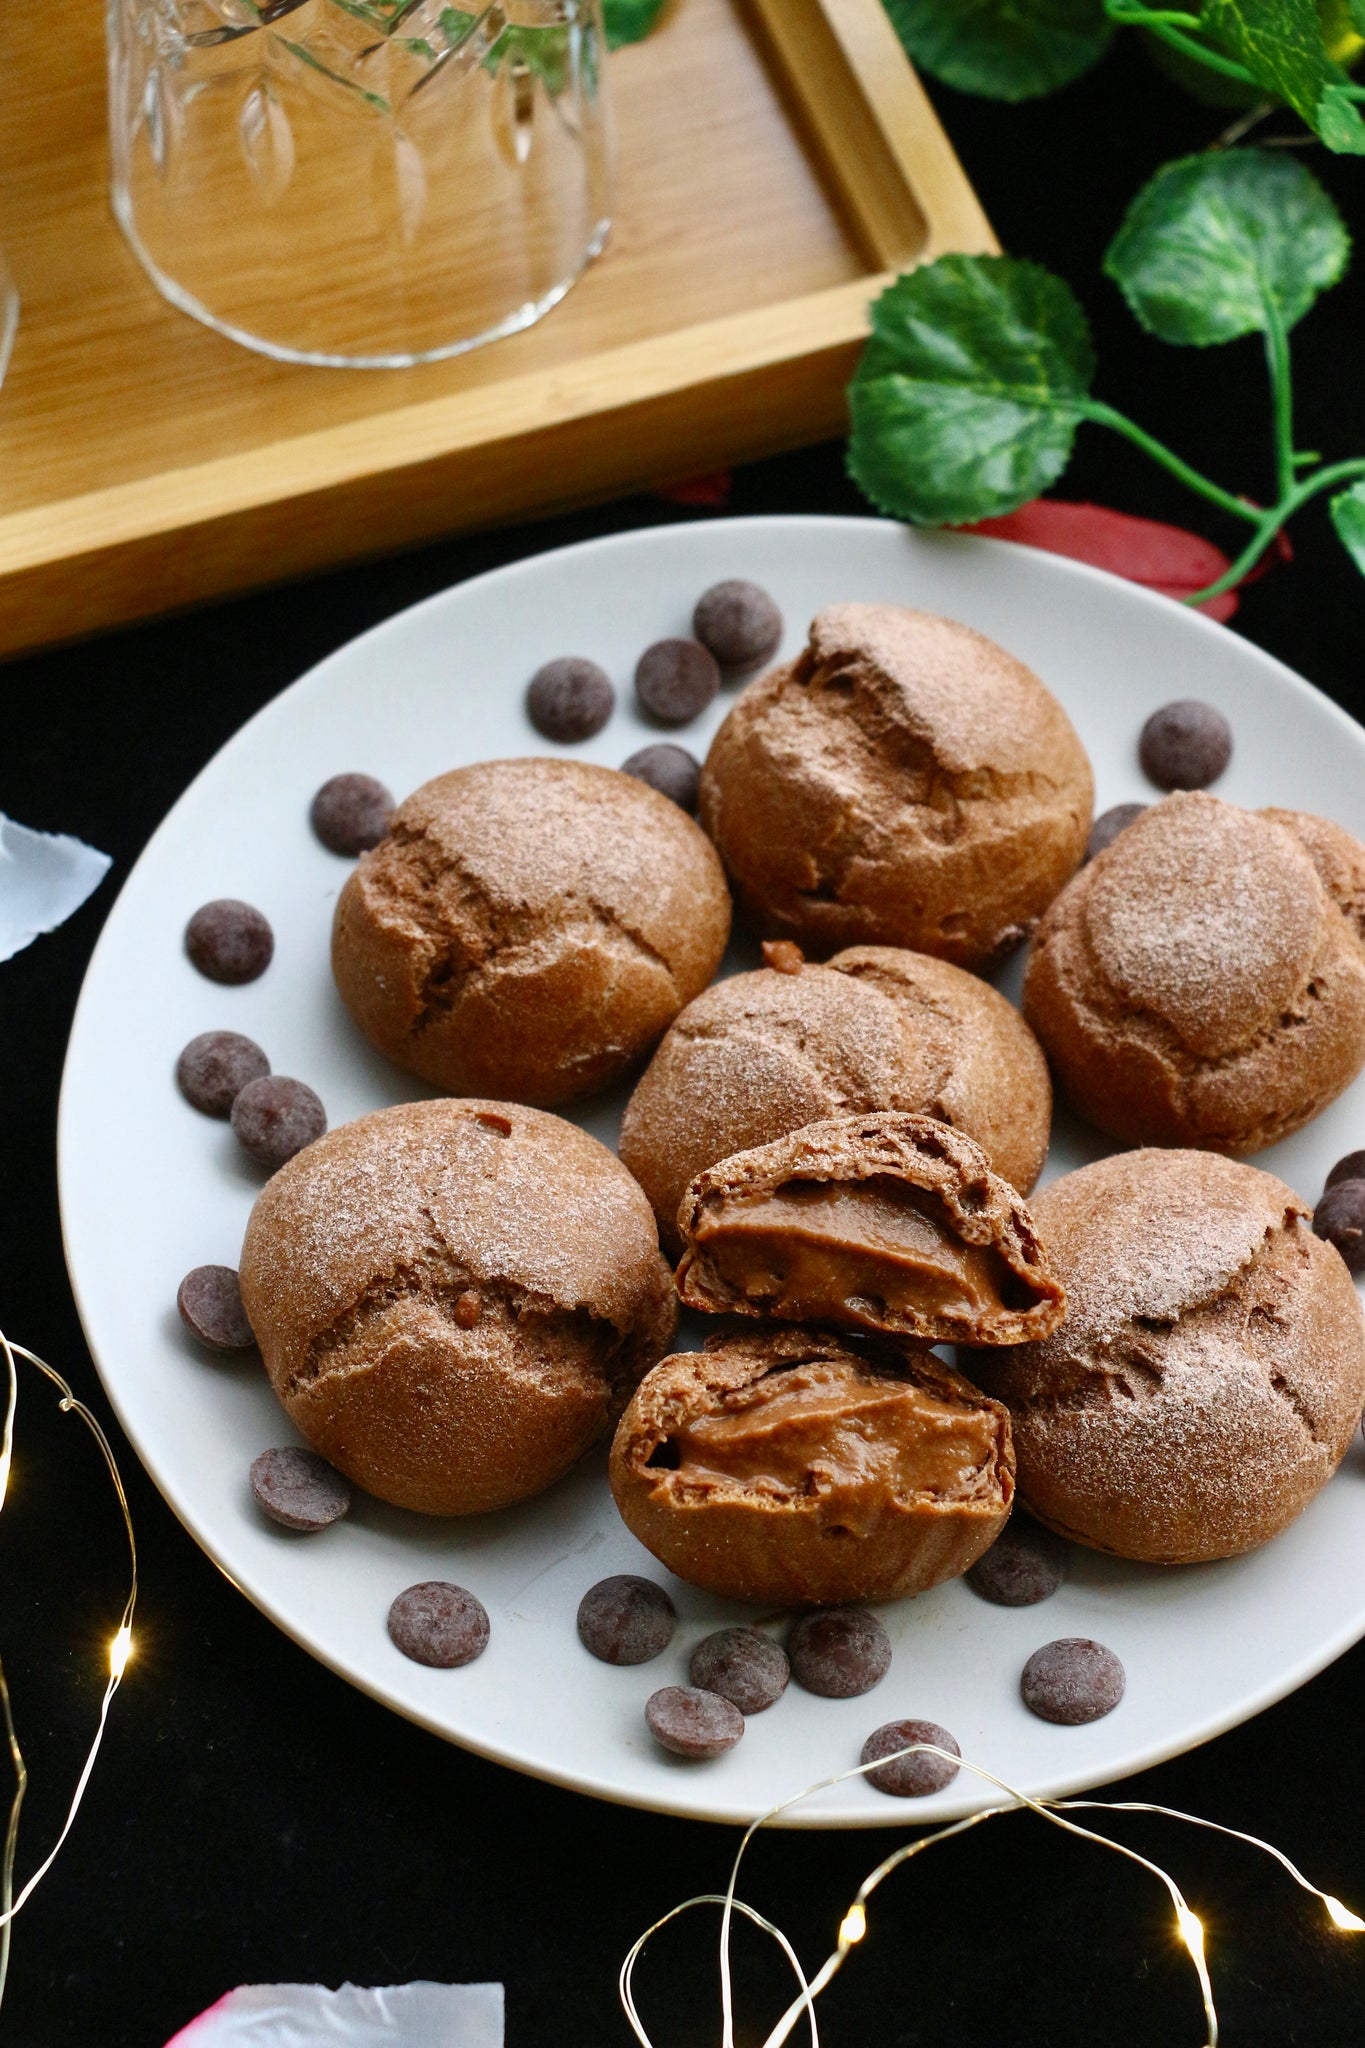
Desserts made with choux pastry range from the chocolate-covered éclairs you can find sold at cafés and patisseries in Singapore to magnificent croquembouches, a popular French dessert.
There’s also savoury ones like gougères—bite-sized cheese puffs that are perfect for snacking.
Learning how to bake the perfect choux pastry will help you to expand your baking repertoire. In this article, we’ve rounded up 10 tips to make the best choux pastry that’ll up your choux pastry game!
The steps of making choux pastry are actually quite simple.
Firstly, all the ingredients such as water, butter, sugar and salt are combined over a stove, except for flour and eggs.
Once the mixture is well combined, flour is added to turn it into a dough, which is then further cooked on the stove to reduce moisture in it.
Lastly, the eggs are added in several additions to make the dough shiny and pipeable. This dough is then piped and baked into light pastries ready for piping and filling!
To get the best results, you'll need to apply the right techniques. The foolproof tips below will help you to make crisp and puffy choux pastry!

Using unsalted butter in your choux pastry will give you more control of the flavour. You can accurately measure the amount of salt going into your dough, and won’t end up with overly salty choux pastry.
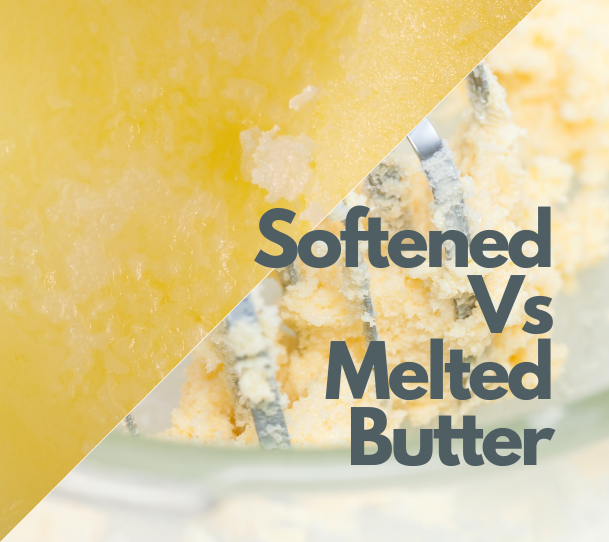
You don’t need to melt or soften butter before making choux pastry dough, but we recommend cutting it into smaller pieces. That way, it’ll melt quicker when you boil it with water over the stove.
We use cake flour in our cream puff baking kits. However, there are many choux pastry recipes you can find online that use different types of flour.
There is no hard and fast rule to choosing flours for choux pastry, but it depends on the result you’re expecting.
Using cake flour will give your choux pastry a light and airy texture.
It will rise more in the oven, which helps if you’re adding craquelin (cookie crust) as a topping. There will be more room for the delicious pastry cream filling as well.
Some bakers prefer all purpose or bread flour because the high protein content makes the choux pastry hold their shape better. These flours also give choux pastry a thick and crisp shell.
The downside of using all purpose or bread flour is that there won’t be as much rise as choux pastry made with cake flour.
No matter which flour you’re using, remember to sift the flour so that it can incorporate well into your dough. Use a fine-mesh sieve for the best results!
Although choux pastry is meant to be delicate, it still needs enough gluten to hold its shape when baked.
After melting the butter with the water over the stove, add all the flour in one go, then give the mixture a vigorous stir until the flour is well combined with the wet ingredients, and cook until it no longer sticks to the pot.
There is enough gluten in your dough to provide structure at this stage, but it will not make your choux pastry too tough.
It’s a bit of an arm workout, but the results will be worth it! Know when to stop, and your choux pastry will turn out just right.
When you’re cooking the choux dough over the flame, once the flour mixture is mixed in thoroughly and your dough is cooked and has the right consistency, remove the pan from the heat right away!
It’s important to cool this mixture down before adding the eggs in.
Doing so will prevent the eggs from cooking when you add them in. Ignore this step, and you’ll end up with gummy choux pastry with an eggy taste.
Try flattening the dough along the sides of a bowl to cool it down quickly. This will also help to give your puffs a lightly crisp texture since more water will evaporate from the dough.
The proper way to mix eggs into the flour mixture is by adding a small amount at a time, then stirring the mixture vigorously after each addition.
Add about 2 tablespoons of beaten eggs into the dough and make sure it’s mixed well before adding more.
Adding all the eggs at once will only make them splash around and make it much harder to incorporate them completely.
Just like how bread dough needs to pass the windowpane test, your choux pastry dough should pass the String Test.
The String Test does not target gluten development, but determines if the dough has reached the ideal consistency.
Take a bit of dough using your thumb and index finger, then pull your fingers apart. The dough has reached an ideal consistency if a string of dough forms between your fingers, and it’ll turn out great when baked.

Another way to test your choux dough is by performing the V test.
Place a rubber spatula upright in your choux dough, stir a little, and then lift the spatula. If your choux dough’s ready, it should form a V shape at the end of the spatula.
Check out the tutorial video for our Belgian Dark Chocolate Peppermint Cream Puffs [4:30] to see how we performed the V test!
Use the suitable piping tip depending on the type of choux pastry you’re making.
For éclairs, you’ll want to use a star piping tip. Cream puffs can be made with or without a round piping tip.
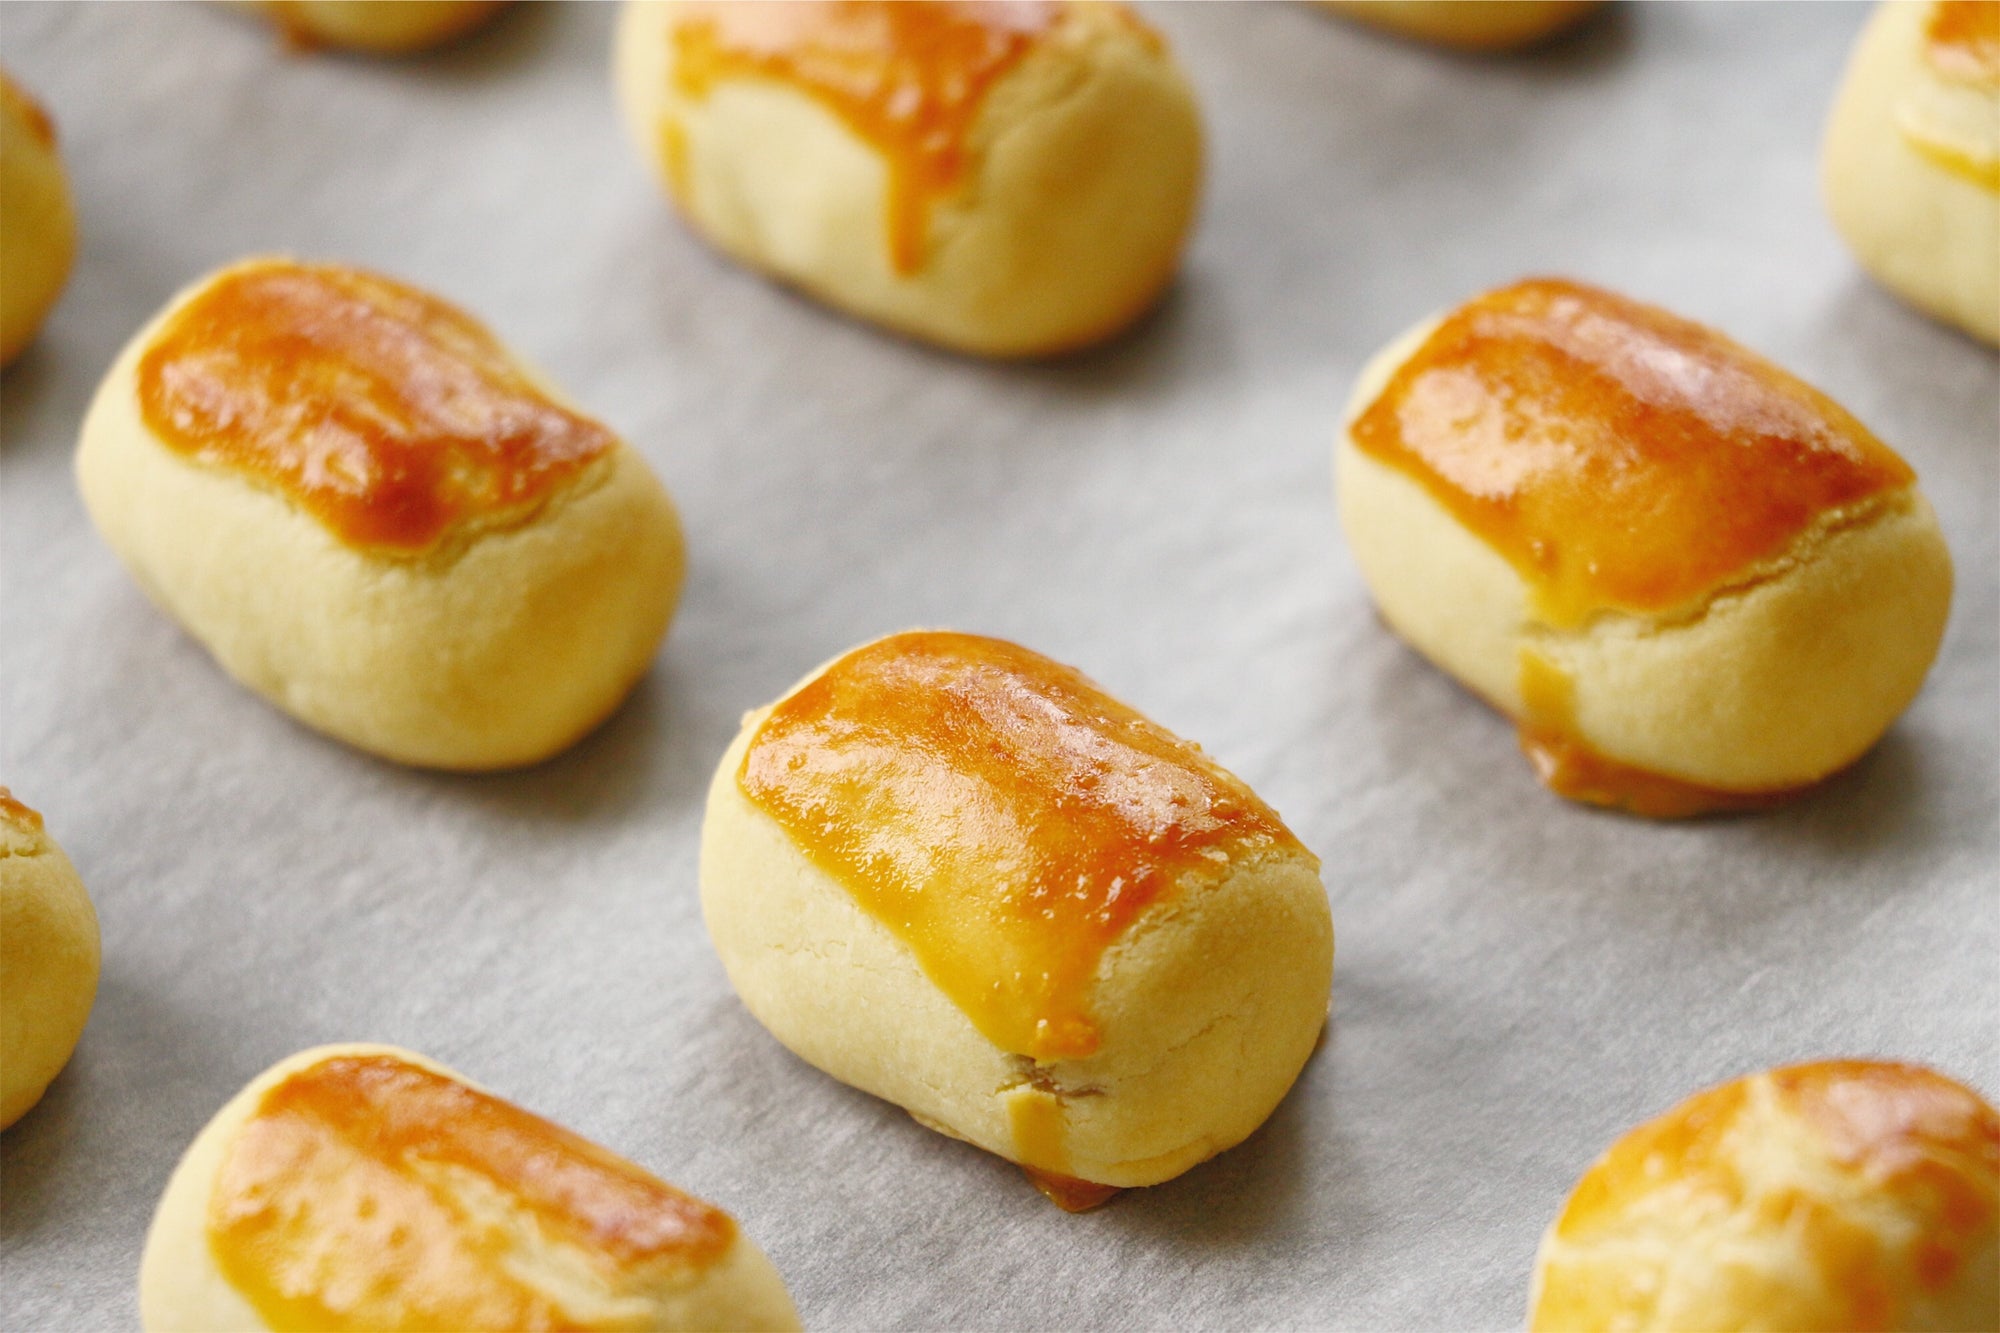
No matter what kind of choux pastry dessert you’re making, it’s important to make them the same size.
This rule applies in pretty much every type of baked goods. It ensures even cooking, and nothing’s better than seeing an army of uniformly-sized choux pastries.
Also, remember to give some space between your choux pastries to keep them from baking into each other. They might start out small, but they will expand as much as thrice its original size!
If you have a bigger oven, using a bigger baking tray will help you bake multiple choux pastries at one go!
There has to be enough steam in the oven to puff up your choux pastry dough.
A way to create steam is by setting your oven to high heat; nothing less than 180°C!
Some ovens might not be calibrated, where the internal temperature does not equate to what is set on the knob. Find out the true internal temperature of your oven using an oven thermometer.
The concept is the same as creating steam when you bake our No-Knead Cinnamon Nutmeg Raisin Bread.
Baked goods won’t be able to rise nicely without steam. Avoid opening the oven door during baking, so the steam will not escape.
After your choux pastry has been baked and have puffed up in the oven, the residual steam must be released.
Pierce the bottom of each choux pastry with a skewer or knife; a small opening is enough.
If there’s unreleased steam in your choux pastry after they’re done baking, they will only make your choux pastries turn soggy. Even worse, they might collapse!
Removing steam will also ensure that the exterior will sufficiently dry out, resulting in a crisp shell.
We usually take baked goods out of the oven right away after they’re done baking. However, this is not the case with choux pastry!
Instead of on top of a cooling rack, cooling down your choux pastries in the oven is recommended.
Turn off the oven, open the oven door, and let the pastries cool in the oven. The remaining heat will further crisp them up without over-baking them.
This method will also prevent any sudden temperature change which will cause them to collapse. This is especially so if you’re baking in a very cold environment.

Applying these tips when baking choux pastry will help you get the best results every time. If you've never tried baking choux pastry before, try this, a festive cream puff flavour available in our new Christmas collection!
Using the right tools is also important in achieving your desired results. Here are some bakeware we would recommend if you're attempting choux pastry.
1. Nonstick Cookie Sheet—Pipe your choux pastries on this nonstick cookie sheet to prevent your choux pastries from sticking to the pan. Get it here.
2. Spatula—A baking must-have, a strong, flexible spatula will help you mix in all the eggs, fold, and beat batters. Get it here.
3. Sieve—For sifting flours together to remove any clumps. Used in almost all baking recipes. Get it here.
4. Oven Thermometer—If there's anything more important in baking, it's getting the right temperature. This is especially so for delicate pastries such as choux pastries which are very susceptible to temperature changes and differences. Get your oven temperature right with a thermometer here.
Comments will be approved before showing up.


Murni
March 24, 2021
Thank you so much! It helps me a lot