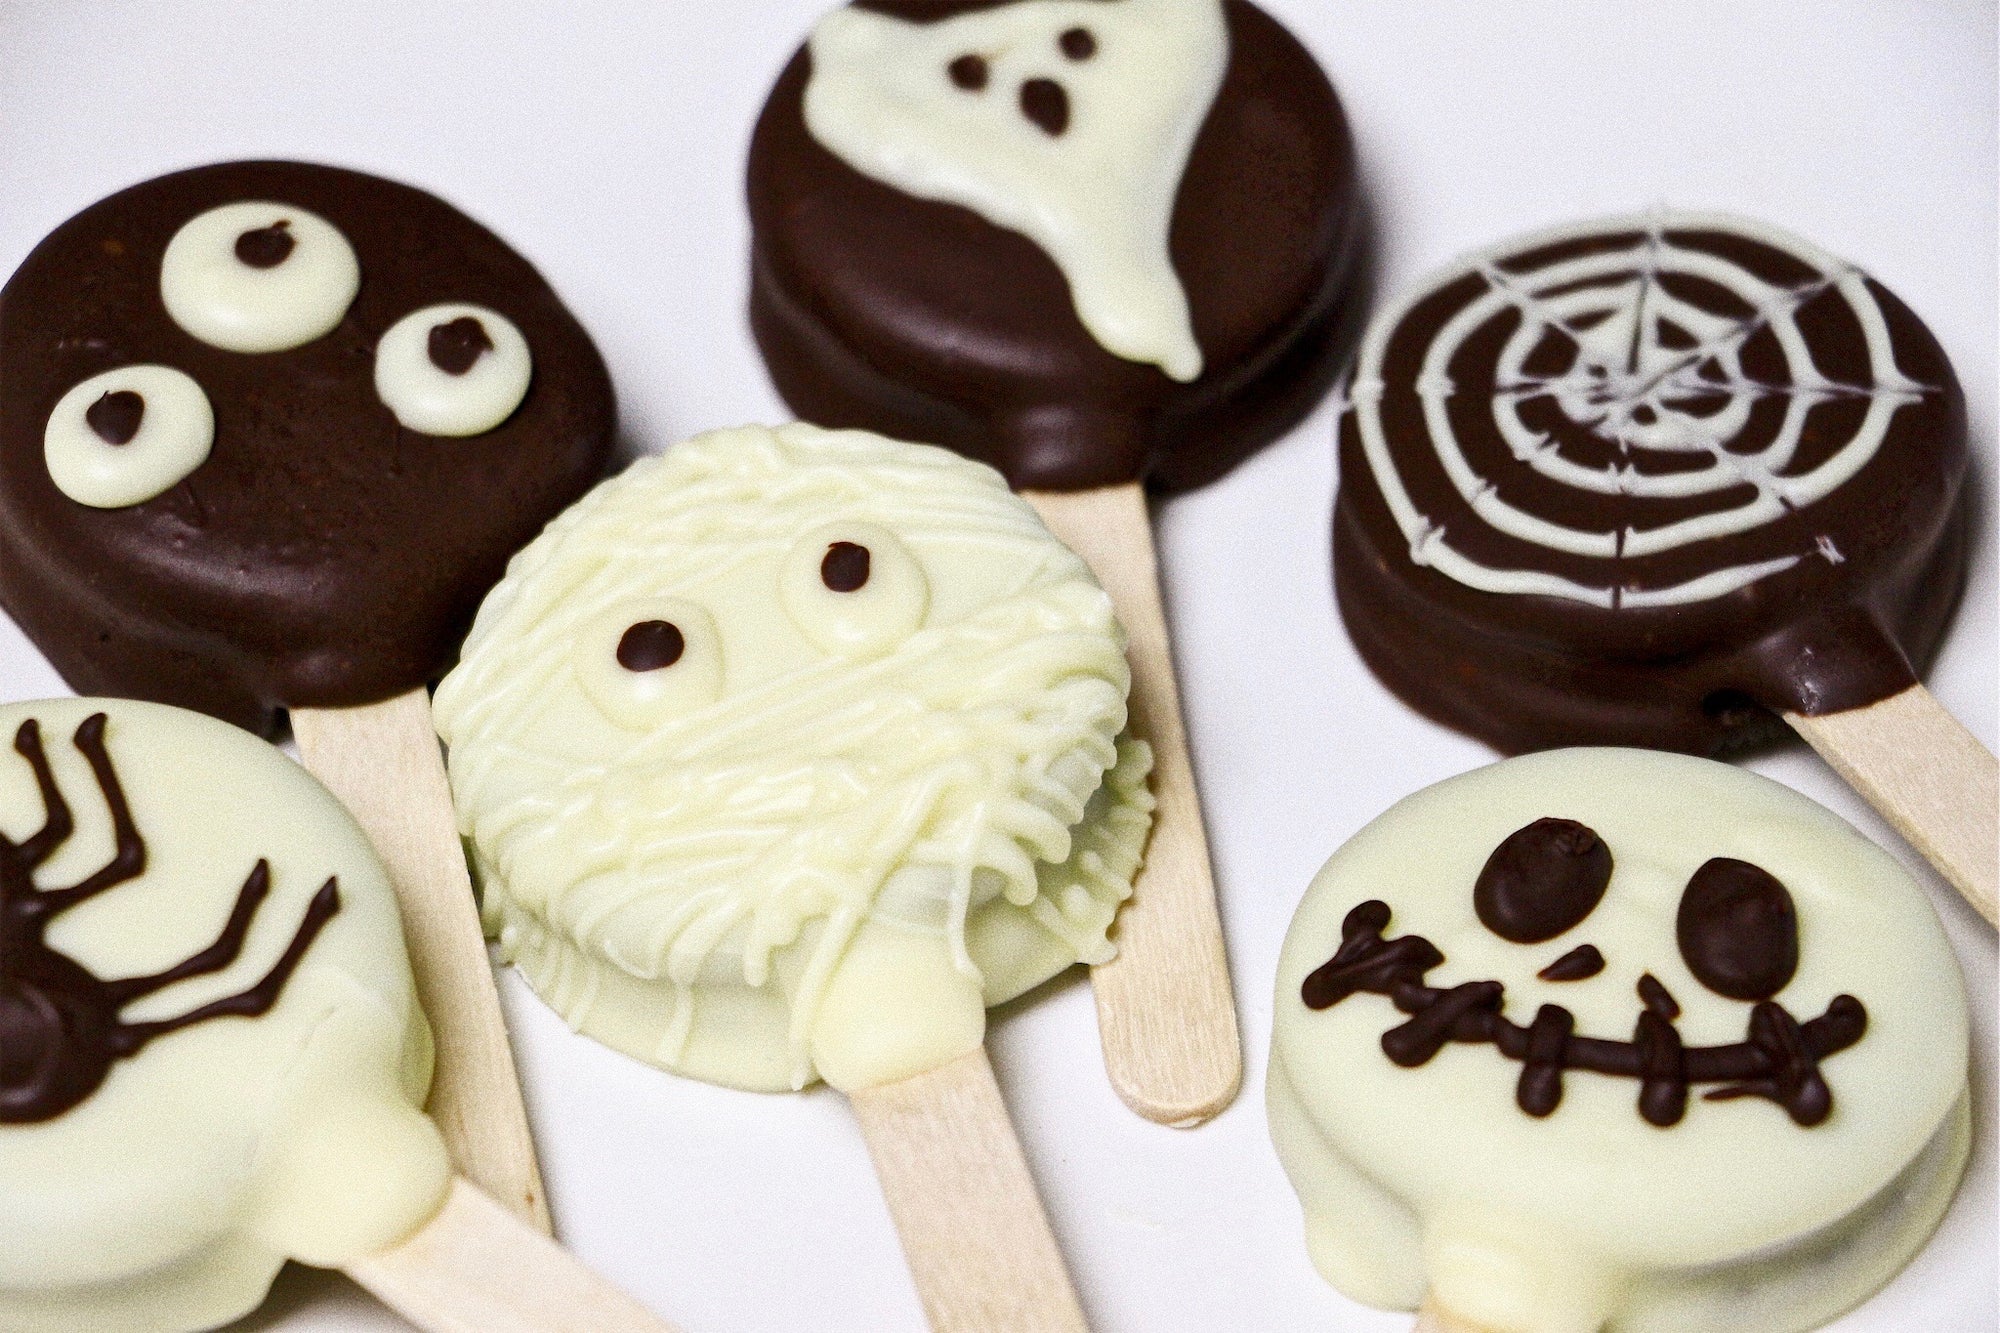
This Halloween, skip the trick and go straight for the treat with these super simple, no-bake Halloween Oreo pops. These chocolate-covered Oreos were really fun to make, especially the part where we had to add in all the Halloween-appropriate designs!
These cookies make for a festive treat that you can make in big batches to hand out to your friends when Halloween draws near. We made them using white and dark chocolate, but feel free to go crazy on the sprinkles and try different chocolates too!
 You may use different kinds of chocolates and sprinkles for your Oreo pops!
While Halloween isn't as popular a season in Singapore as in other countries, it'd be real fun to soak in some of the spirit this year, and have fun at the same time!
This recipe makes 6x Oreo pops, but feel free to multiply the recipe for a bigger batch. But, we would advise melting the chocolates in batches to prevent them from setting too quickly. Besides Oreos and chocolates, you'll need some lollipop sticks, piping bags, toothpicks, and a microwave or double boiler to melt your chocolates.

To secure your lollipop/ice-cream sticks into the Oreos, you'll have to twist open the Oreos – try your best not to lick the cream off, we will still need them!
Next, after you have melted your chocolate, you will need to drop a bit of the chocolate onto the opened Oreo and place your stick onto it. Drop another blob of chocolate on top and close the Oreos. Next, wait a couple of minutes for the chocolate to set before moving on!


For this recipe, you can use your favourite type of chocolate. Different kinds of chocolates will yield different consistencies when melted; if you find that your chocolate is too thick to properly coat the Oreos, drop in a bit of shortening to smoothen and thin your chocolate out. Refrain from adding margarine or butter as both have water content which do not work well with chocolate!
We would recommend holding your Oreo over a bowl, and coating chocolate all over it using a spoon as opposed to dipping them – you don't want your Oreos to break into your pool of melted chocolate!

 After you've coated the Oreos completely, lightly tap or shake your hand to even out the chocolate coating and drip off any excess chocolate.


Conceptualising our designs before we begin!


150g dark chocolate
150g white chocolate
1 to 2 teaspoons vegetable shortening (optional)
Lollipop sticks / Ice-cream sticks
Toothpicks
2x Piping Bags
Yield: 6x Oreo Pops
Step 1: On a plate, twist open Oreos.
Step 2: Using a double boiler or microwave, melt both chocolates separately until smooth. If the chocolate is too thick to coat, add a bit of vegetable shortening and stir until smooth.
Step 3: Using a small spoon, drip a small bit of chocolate onto the iced side of an opened Oreo cookie. Gently place a lollipop stick/ice cream stick onto the chocolate and drip another blob of chocolate on top. Place the other side of the Oreo cookie back on and press gently to adhere. Repeat for the rest of the Oreos.
Step 4: Once the chocolate blobs have set and harden, using one hand to hold the Oreo cookie pop over the molten chocolate, use your other hand to scoop and spoon chocolate all over the Oreo while rotating it. Gently shake or tap the hand holding the Oreo pop to even out the chocolate coating and drip off any excess chocolate.
Step 5: Place chocolate-covered Oreos onto a parchment or cling-wrapped plate to prevent sticking. Repeat for the rest of the Oreos with both dark and white chocolate.
Step 6: Fill piping bags with remaining chocolate and cut a very small part of the tip. Once the chocolate on the Oreos have set, get started decorating! If you would like to add any sprinkles/toppings to the Oreos, do so before the chocolate sets.
Step 7: Once done decorating, let the Oreos set. Consume immediately or chilled!
Trying this recipe out? Make sure you hashtag #bakestarters on Instagram so we can see your wonderful creations!
Love Oreos? Try one of our Oreo baking kits today.
Comments will be approved before showing up.

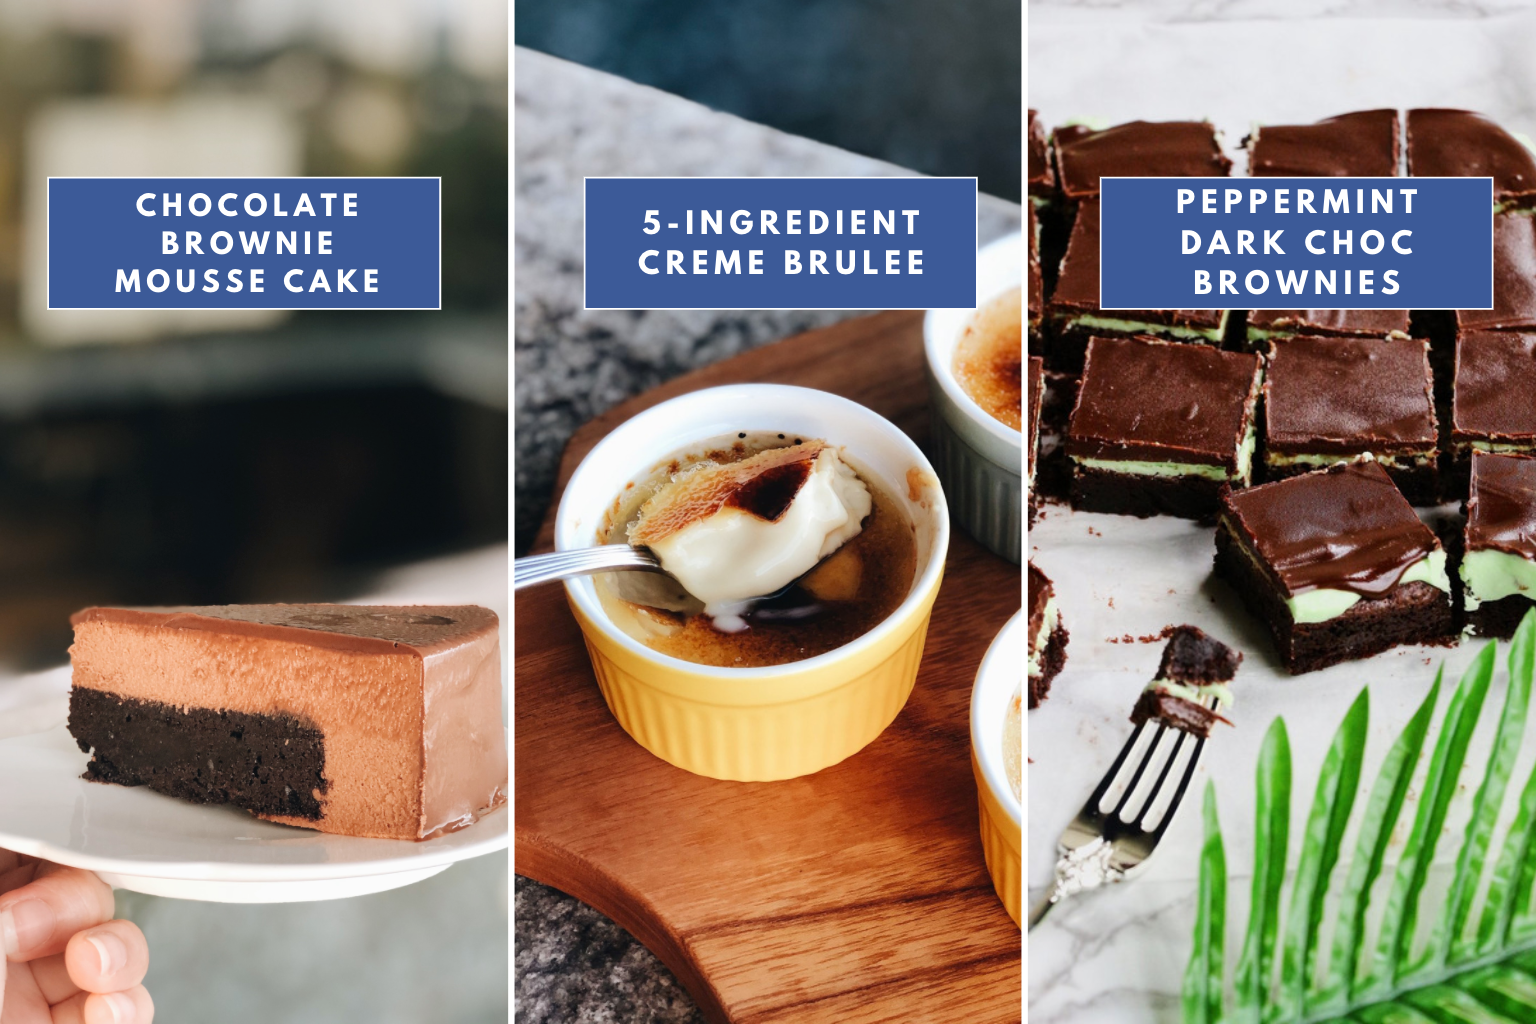
Gatherings and dinner parties just feel extra special when you serve things made from scratch. From soufflé, crème brûlée, to gingerbread cookies, these sweet treats are guaranteed to sweeten up your Christmas! The recipes you'll find are far from complicated, but will surely impress everyone at the dinner table.


